Tips for Serving Amazing Waffles
At home, serving crisp, fluffy waffles is a mess-free and simple task. However, if your breakfast dessert is mushy or dense, there are certainly a few minor mistakes you're making. Following these rules of creating the ultimate waffle will give you crispy exteriors with fluffy interiors every time, regardless of whether you're making regular American-style waffles or Belgian waffles.
Invest in a Good Waffle Maker
When it comes to creating waffles, it's best to avoid buying a waffle maker that can also be used for other things. Waffles demand very specialized settings, and the trade-offs you'll have to make in exchange for a multifunctional device aren't worth it.
A cast-iron or nonstick model will suffice. It's entirely up to your preference whether or not it flips. Some claim that a flip model makes superior waffles because when you flip it, gravity drives the uncooked batter onto the other side, which cooks it more evenly. A good non-flip model, on the other hand, will do the same.
Electric makers that beep when they're done are the greatest because they allow you to resume cooking while you wait for an indicator light or steam to appear.
It's crucial to read the instructions from beginning to end. This isn't just about safety (though that's a significant aspect); it's also about getting to know your gear so you can make the perfect waffle. Additionally, it would be best never to use metal utensils on a nonstick surface because they will gradually destroy it.
Manage Your Fat
Waffles with a lot of fat — more than a tablespoon every waffle — are the best. And, contrary to popular belief, vegetable oil is superior to butter or shortening. Waffles with thinner batters are crispier.
Use Three Bowls, Not Two
You'll need three bowls to make the ultimate crisp and airy waffles: one for the majority of the wet components (including the egg yolks), another for the bulk of the dry ingredients, and a third for the egg whites and sugar.
Beat the Egg Whites Vigorously
Using an electric mixer, whip the sugar and egg whites into very stiff peaks. There are three compelling reasons to proceed in this manner. The sugar not only acts as a stabilizer, slowing the whites' dissolution, but it also causes friction, softening them and making them easier to fold in later.
Furthermore, all of the air you're incorporating into the batter will be incorporated into the finished waffle batter, assuring a soft fluffiness beneath the crisp.
Use Buttermilk
The flavor of an excellent waffle is dependent on buttermilk. In your recipe, it's OK to use half buttermilk and half ordinary milk (in fact, the milk will be thinner and create crispier waffles). However, don't try to replace all of the milk. Buttermilk also contains more fat, which is vital for the texture of your waffle.
Add Cornstarch
While you're cooking the rest of the waffles, adding a smidge of cornstarch protects it and prevents it from getting soggy.
Baking Soda vs. Baking Powder
Both are leaveners, which implies that when additional ingredients (activators) are present, they cause bread to rise. It's all up to you which one you use. Baking soda will enhance the buttermilk flavor; however, baking powder will consume part of the buttermilk (which is how it activates) and result in a little higher rise.
You can typically change them depending on what you want, regardless of what your recipe calls for.
Add a Little Punch
A dash of vanilla or a liqueur-like amaretto to the mix provides just a hint of sweetness and flavor. If your recipe doesn't specify it, simply add it to the egg whites as you're beating them.
Mix Carefully
It's perfectly alright if your waffle batter is lumpy. It's a good mantra to remember when mixing your dry and wet ingredients. To avoid deflating your whipped cream, stir until the mixture just comes together, then fold in the egg whites carefully in three or four batches.
Grease It Up
Even if you're using a nonstick iron, grease the cooking areas to ensure that the waffle slides out easily; if you don't have any other options, a cooking spray will suffice, but vegetable oil would work best. You'll have to do that as needed in between waffles.
The very first waffle is often a test to ensure that you're using the correct amount of batter and that it's cooked to your preference.
Don't Peek
When the waffle (or waffle iron) is done, it will tell you. If you lift the lid to check on it, the waffle will be ruined. Use the indicator light or sound if your iron has one. If not, steam is the key. The waffle should already be done when the steam stops flowing out of the side.
Reheat in the Oven
You will want to keep the waffles warm while you finish the others in the oven, which will also enhance the crispiness. Preheat the oven at around 200 degrees Fahrenheit; all of the waffles, including the last one, require a minimum of five minutes in the oven. Place them in a single layer on the (clean) oven rack, as stacking them will turn your waffles soggy.
If you have leftovers, reheat them with this technique (at a higher temperature of 300 degrees F) instead of the microwave; otherwise, your waffles will become mushy.
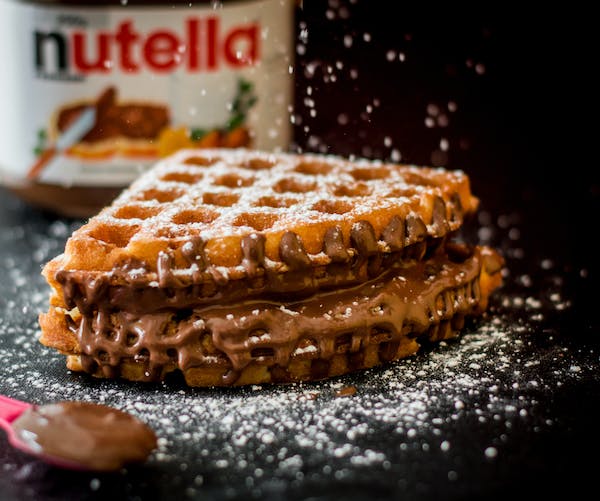
Have the Toppings Ready
Unless you enjoy the contrast of cold and hot, you should use most toppers at room temperature or even warm.