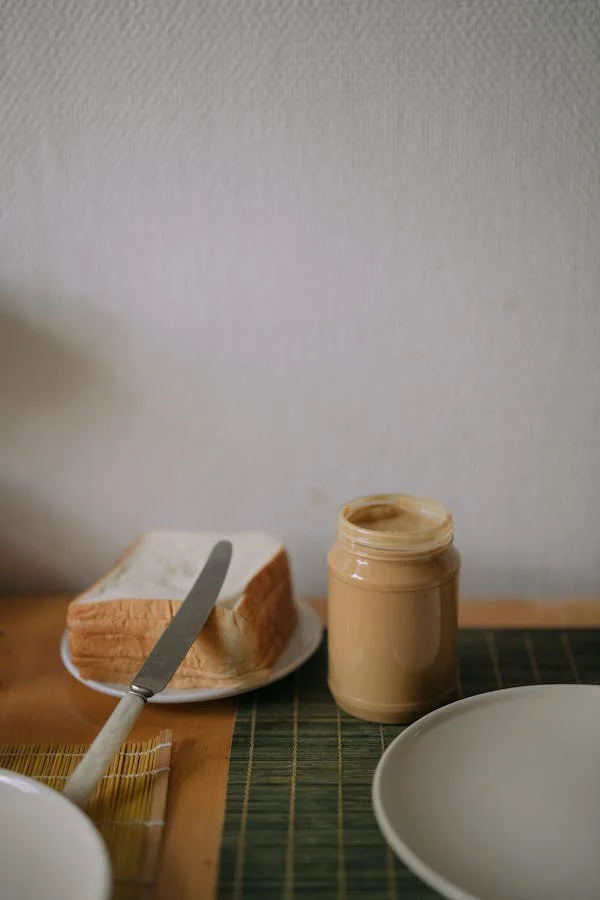
Brown butter sounds like a fancy form of butter (calling it beurre noisette only adds to its appeal), but it’s actually a simple ingredient that’s used in many households around the world. If you see it there in a recipe, don’t fret. It’s possible to make brown butter at home. But before we get to that part, let’s talk more about the butter and its various benefits.
What Is Brown Butter, Exactly?
It’s basically butter that’s heated past the melting point. The process goes something like this: the butterfat separates from the milk solids, which then go to the bottom of the heating pan. After a while, the solids become brown and give off a nuttier flavor than standard melted butter. This butter is used to give flavor a variety of pastries – it’s the caramel flavor you enjoy in those French tarts. You’ll also find it in savory dishes like risotto, pasta, and mashed potatoes.
Types of Brown Butter
All brown butters aren’t alike. Essentially, you can choose from the following kinds of brown butter for your next baking project:
- Lightly browned butter
- Golden brown butter
- Dark brown butter
The change from one type of butter to the other happens quickly during the melting process, so once a desired type is achieved, butter makers pour off the item into a separate container.
Is Brown Butter Different from Regular Butter?
Nope. It’s the same block of butter that you buy from the grocery store. Also, you don’t need any special ingredients to make brown butter. However, it’s more than just melting the butter in a pot. The butter needs to be cooked past the melting point until the solids begin to come out (not until the whole block burns). Making it in your home requires careful attention, as a lapse of focus (even for a minute) could be the difference between a burned and brown butter.
Is Brown Butter Sauce Different from Brown Butter?
In a word: no. It’s just an interchangeable term for brown butter. The butter itself is usually called brown butter sauce when it’s drizzled over a cuisine, and the phrase “brown butter” is typically used when it’s added to bakery item like a cookie or brownie.
Benefits of Brown Butter
Since brown butter is made from regular butter, its benefits lie along the lines of enhanced skin function, better digestive functioning, and improved wellbeing. Critical minerals like zinc, copper, and magnesium are also present in this food item. These serve as antioxidants that help the human body fight free radicals. In addition, most types of butters contain CLA (a fatty acid that reduces fat mass). CLA is found in dairy items of animals consuming a plant-based diet. The fatty acid helps fight against colon and breast cancer while boosting the immune system of the person who consumes it.
Making Brown Butter at Home
It’s a simple process that’d take no more than eight minutes of your time. Just follow these steps.
1. Chop and Warm It Up
Get a block of butter from a department or grocery store, but don’t throw all of it into the pan. We recommend chopping it into tiny pieces because that’ll ensure it browns evenly. The brown butter at first will look pale and opaque, just like butter does. Warm it for a minute or so until it’s properly melted.
2. Next Comes Spluttering
Don’t worry, spluttering isn’t something that you’ll need to perform. After the butter is melted, it should begin to “splutter,” which just implies that the water is cooked off and the remaining fat is about to pop. The color of the butter, at this stage, will be close to yellow rather than opaque. This is where it’s important to stir the butter frequently to ensure it spurs in a gentle manner. It can take four to five minutes for it to be completely spluttered (make sure to turn the heat down a little if the spluttering gets violent at any point).
3. Milk Solids Upcoming
After spluttering, the butter will take the shape of a light delicate form. Also, its color will become very yellow. This is the stage where most of the water has been removed from the butter, and milk solids will be floating around the remaining liquid. This phase occurs right before the butter browning, so keep stirring the substance in tight circles. Brown butter is almost near.
4. Brown Butter, Finally!
You’ve now arrived at the final stage of the brown butter making process. At this point, you’ll notice that the color has turned deep, dark yellow, and the smell is kind of caramel-y. This is an indication that the milk solids have become golden and are visible in the butter (what is referred to as golden brown butter). For making lightly browned butter, it’ important to remove the butter from the heat as soon as the golden specks become visible. On the other hand, deeply browned butter requires the user to keep stirring for an extra minute or two until the specks become light brown.
Conclusion
Once you’ve made the butter, make sure to take the pan away from the stove. Now place the butter inside a “heatproof” pot as soon as the solids turn into your desired color. This needs to be done to allow the butter to keep cooking and darken in the hot utensil. As a reminder, the toasty milk solids and the remaining fat particles are essentially your brown butter. Make sure to not melt it to the burning point if you want to keep the caramel, toasty flavor intact. Now, feel free to add the newly made butter to cookies, brownies, pasta, sauces, and more. It gives another layer of flavor that’ll make you love your savory dishes even more. It can be applied with a. stick, a spatula, or even a spoon. Enjoy!

